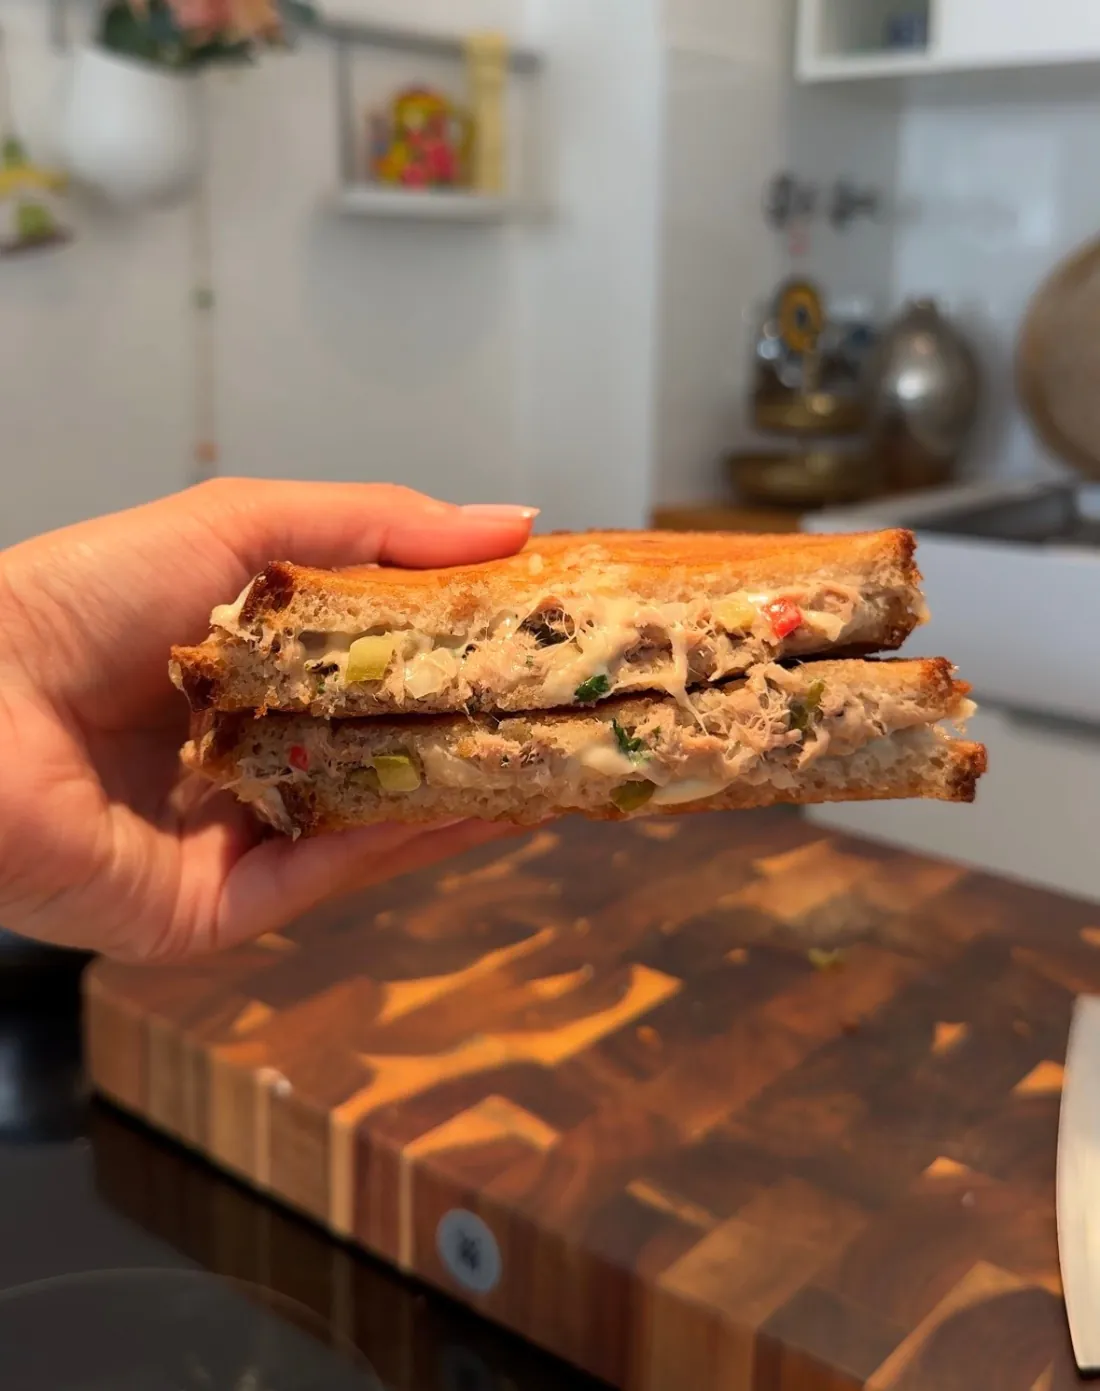


This Tuna Melt Sandwich is creamy, cheesy, tangy, and packed with crunch and flavor. A simple tuna mixture made with onion, chilli, jalapeños, pickles, mayo, mustard, and coriander is layered with cheese, then toasted until golden and melty. Brushing the bread with mayonnaise before toasting gives it an extra crisp and delicious finish.
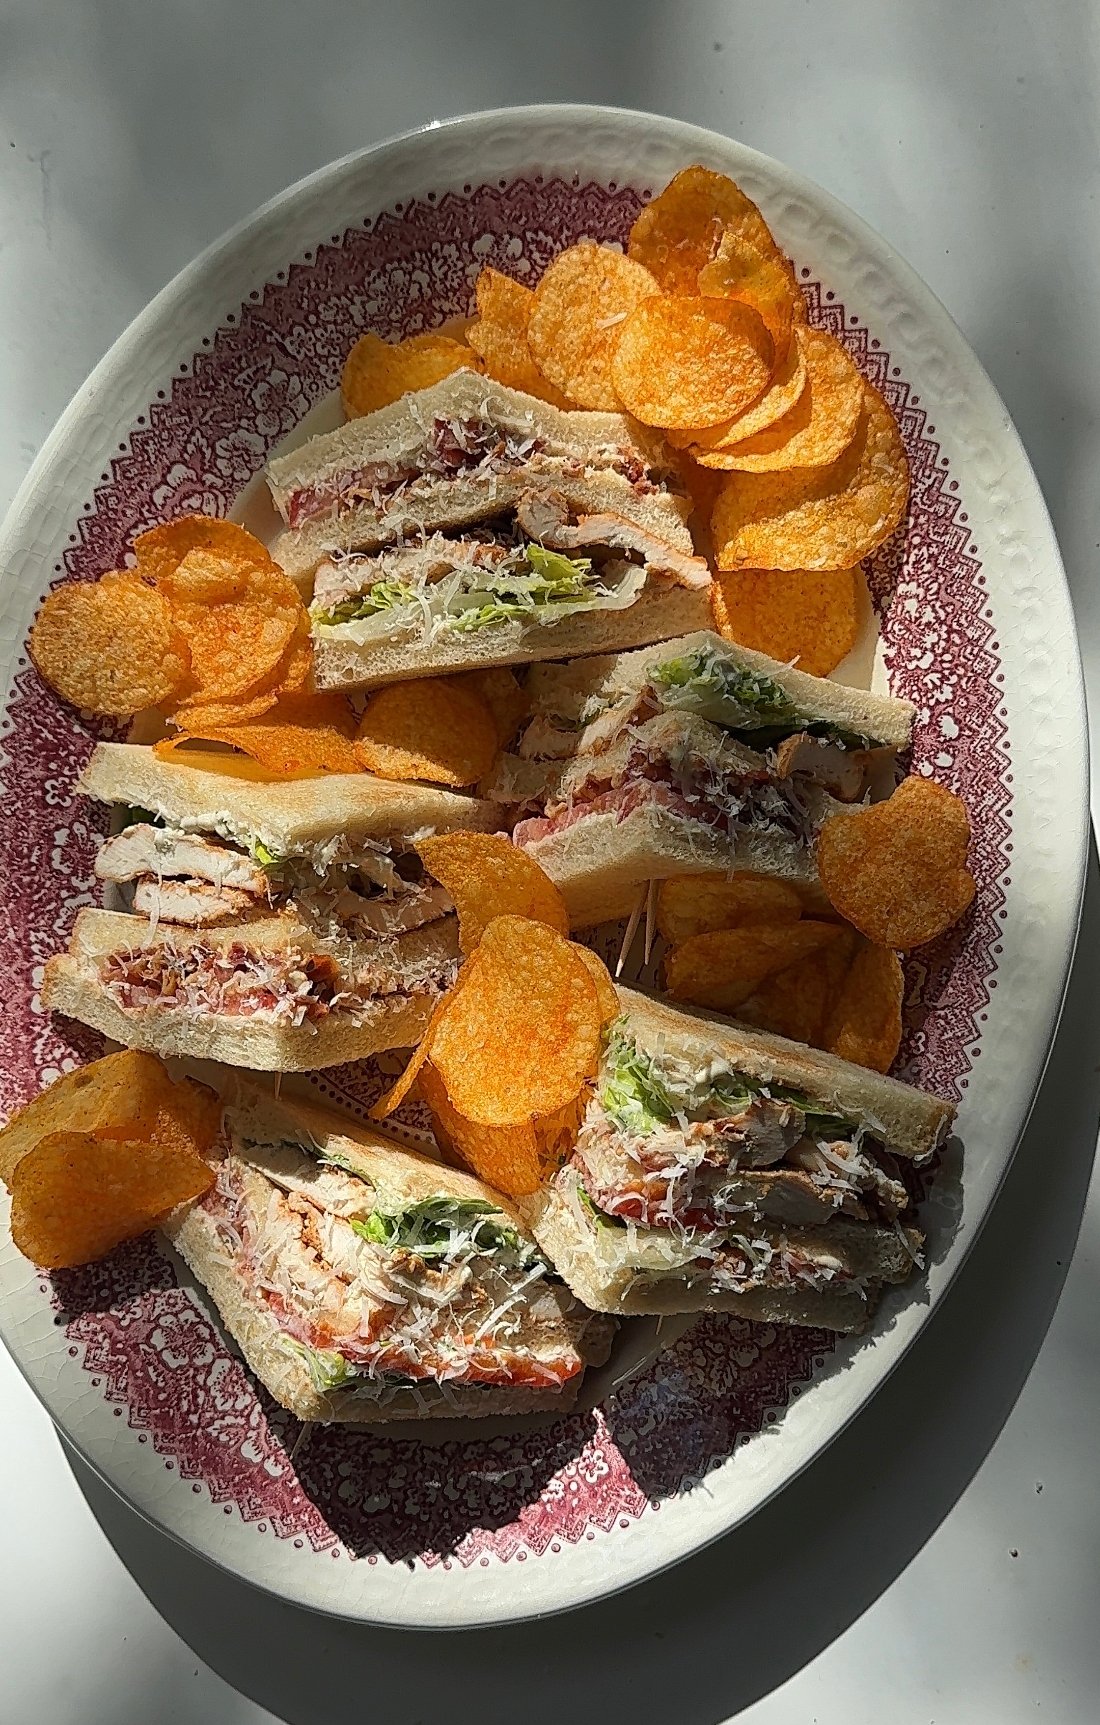
It is one of those easy recipes that comes together quickly but always tastes so satisfying. Serve it hot with your favorite chips on the side. I love it with salt and vinegar chips.
Why You’ll Love This Recipe
- Quick and easy to make
- Crispy outside and cheesy inside
- Full of tangy, creamy flavor
- Great for lunch or a light dinner
- Easily customizable
- Perfect with chips on the side
Ingredients
For the Tuna Mixture
- 400g canned tuna
- 1 yellow onion, chopped
- 1 red chilli, chopped
- 2–3 jalapeños, chopped
- 3–4 pickles, chopped
- 3 tbsp mayonnaise
- 1 tsp mustard
- Salt and pepper, to taste
- Chopped coriander
For Assembling
- Gouda or cheddar cheese slices
- Bread of choice
- Mayonnaise, for brushing the bread
Instructions
1. Make the Tuna Mixture
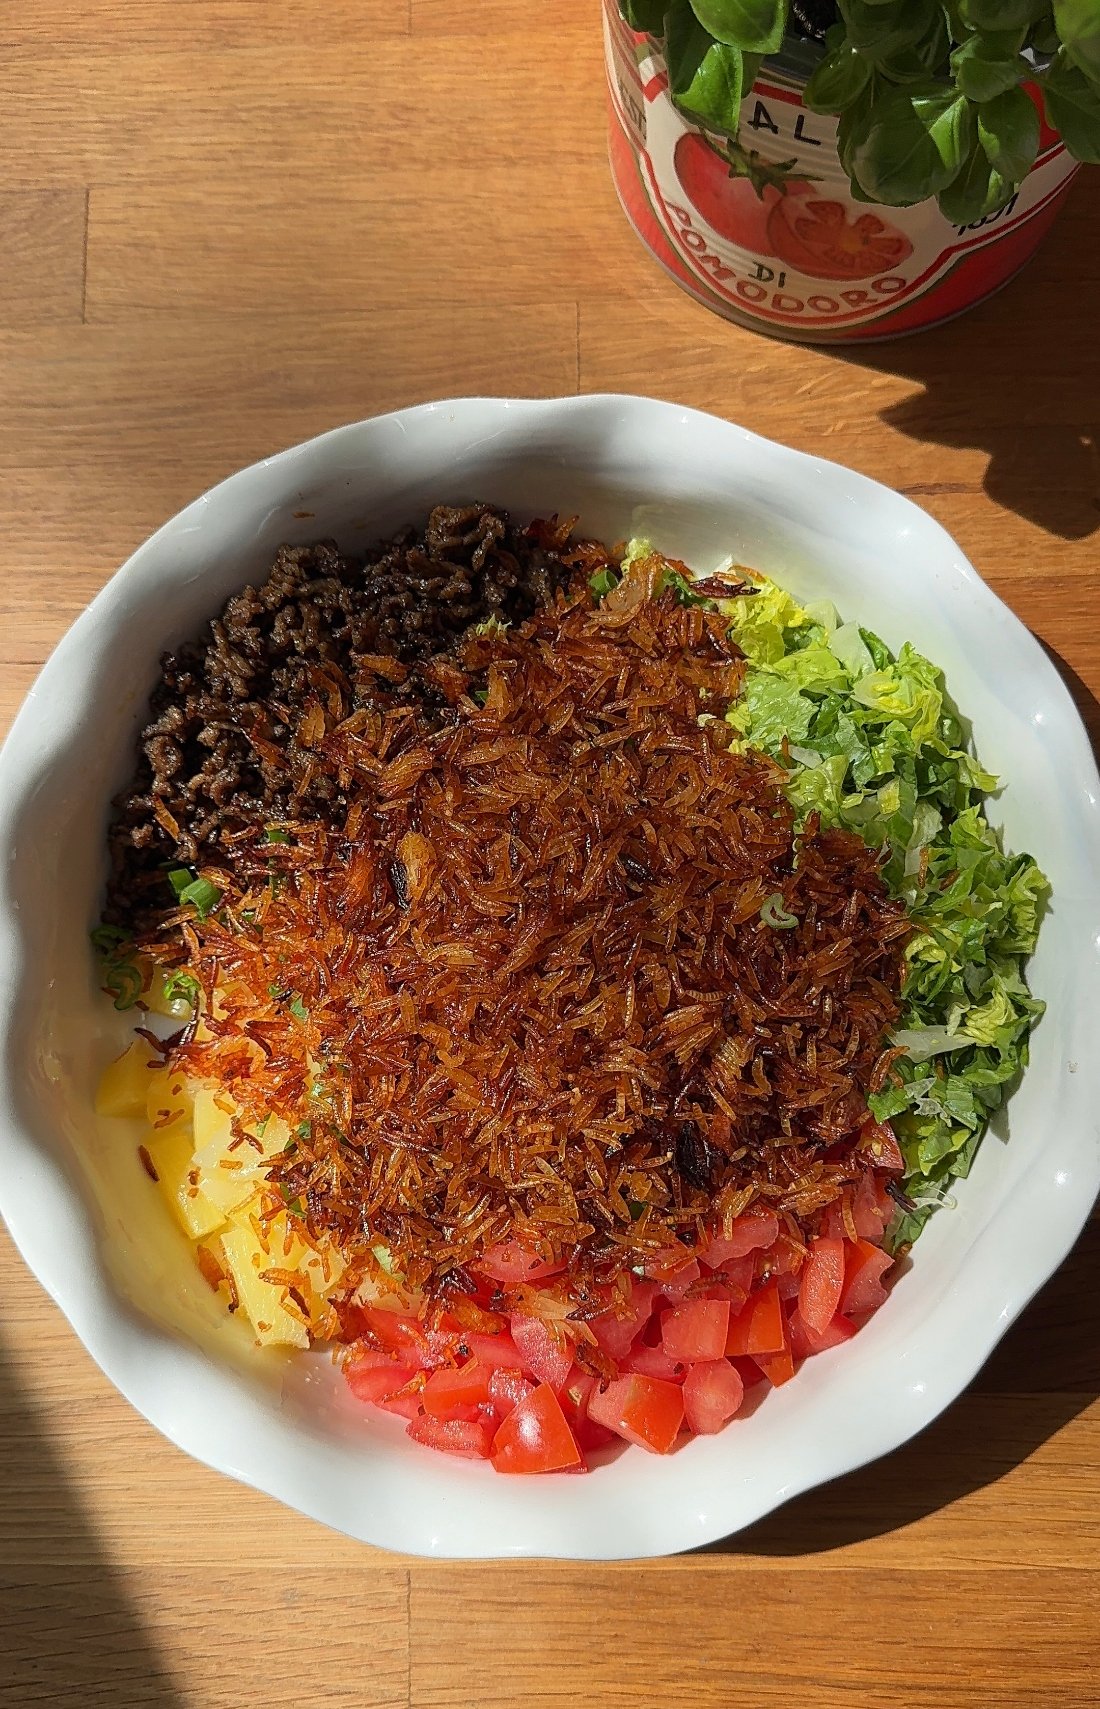
In a bowl, add the canned tuna, chopped onion, red chilli, jalapeños, pickles, mayonnaise, mustard, salt, pepper, and chopped coriander.
Mix everything together well until fully combined.
2. Prepare the Bread
Lay out your bread slices and lightly brush the outer sides with mayonnaise. This helps the bread toast up beautifully golden and crisp.
3. Assemble the Sandwich
On one slice of bread, add a generous layer of the tuna mixture. Top with cheese slices, then close the sandwich with the second slice of bread.
The layering is simple: tuna mixture first, then cheese.
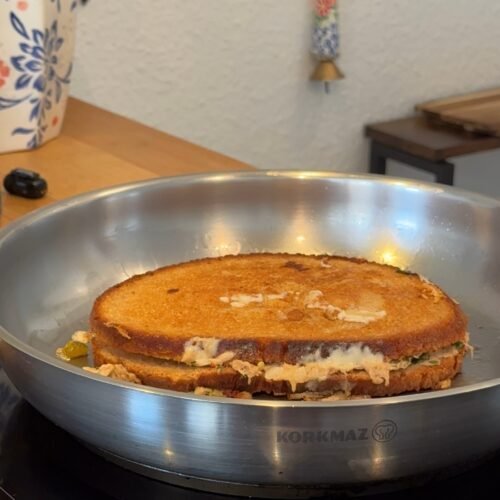
4. Toast the Sandwich
Place the sandwich in a pan, sandwich press, or toaster over medium heat and toast until the bread is golden and crisp on both sides and the cheese has melted.
5. Serve
Serve hot while the cheese is still melty and the outside is crisp.
It pairs perfectly with:
- Salt and vinegar chips
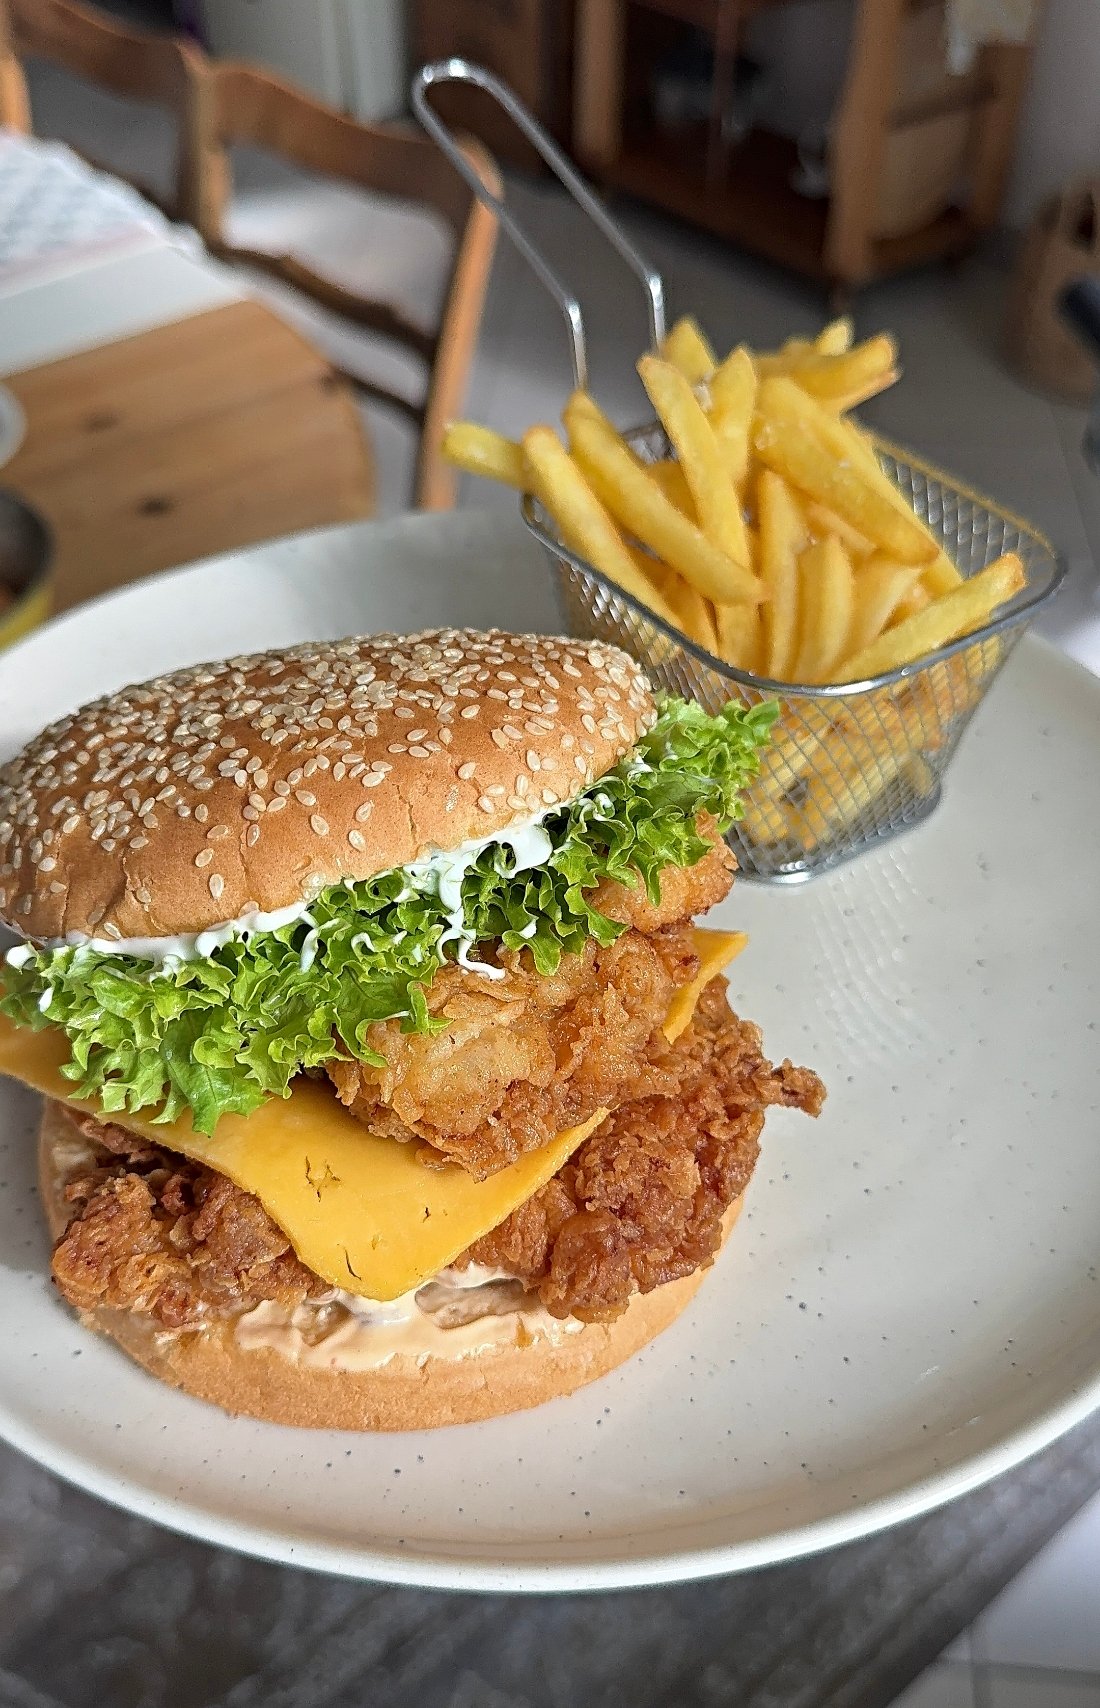
- Fries
- Pickles
- Coleslaw
- A cold drink
Frequently Asked Questions (FAQ)
Q. Can I use another type of cheese?
Yes. Any good melting cheese works well, but Gouda and cheddar are especially delicious here.
Q. Can I make the tuna mixture ahead of time?
Yes. You can prepare it ahead and keep it in the fridge, then assemble and toast when ready.
Q. Why brush the bread with mayonnaise instead of butter?
Mayonnaise helps the bread brown really well and gives it a crisp, flavorful finish.
Q. Can I make this less spicy?
Yes. Reduce or skip the red chilli and jalapeños.
Q. What bread works best?
Any bread you like works well, including sandwich bread, sourdough, or milk bread.
Tuna Melt Sandwich
Ingredients
For the Tuna Mixture
- 400 g canned tuna
- 1 yellow onion chopped
- 1 red chilli chopped
- 2 –3 jalapeños chopped
- 3 –4 pickles chopped
- 3 tbsp mayonnaise
- 1 tsp mustard
- Salt and pepper to taste
- Chopped coriander
For Assembling
- Gouda or cheddar cheese slices
- Bread of choice
- Mayonnaise for brushing the bread
Instructions
- In a bowl, mix together the tuna, chopped onion, red chilli, jalapeños, pickles, mayonnaise, mustard, salt, pepper, and coriander.
- Lightly brush the outer sides of the bread slices with mayonnaise.
- Add the tuna mixture to one slice of bread, then top with cheese slices.
- Close the sandwich with another slice of bread.
- Toast in a pan or sandwich press until golden and crisp on both sides and the cheese has melted.
- Serve hot with your favorite chips. Salt and vinegar chips are especially good with this.